Advanced VANS fans: How to create a personalized look through DIY graffiti
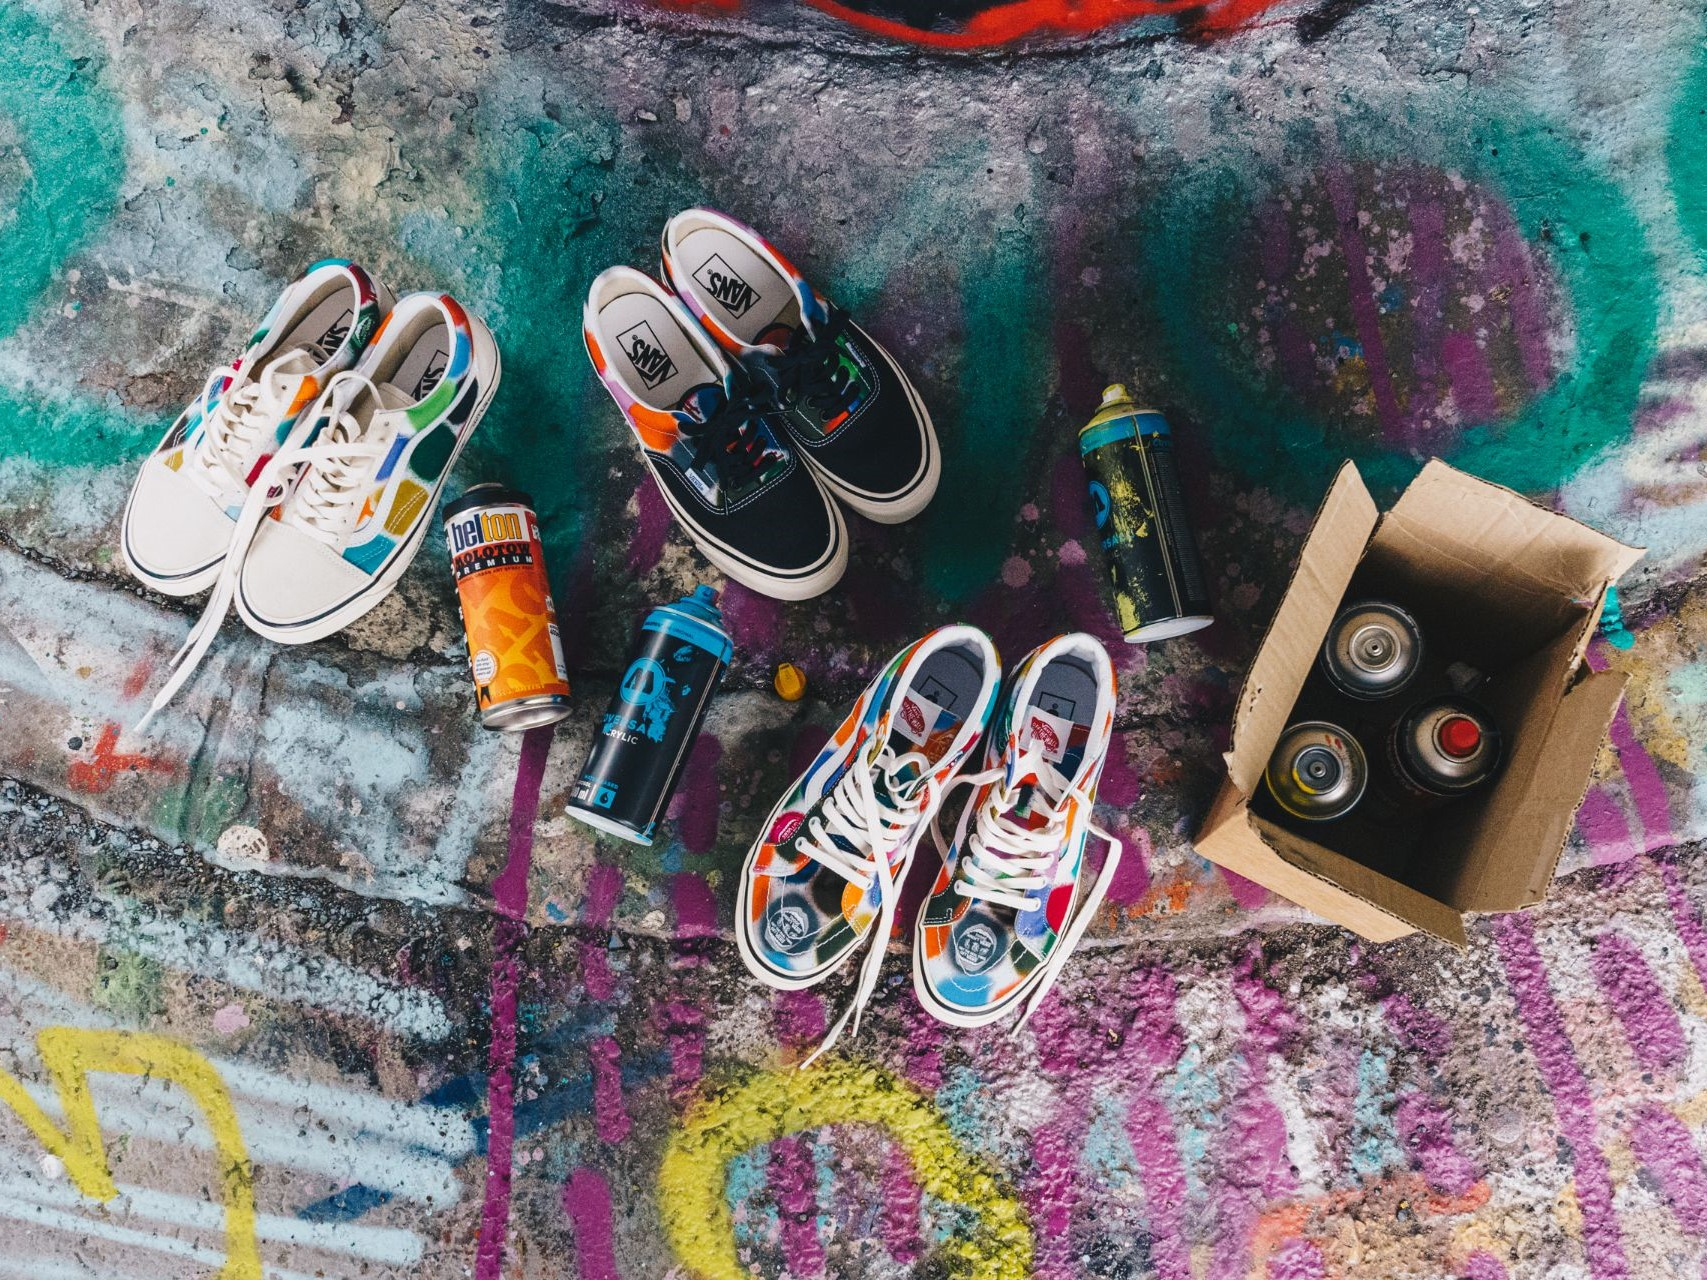
The charm of Vans lies not only in its iconic appearance, but also in its strong transformability. For those who love skateboarding culture or street style, a pair of canvas Vans is not only a piece of clothing, but also a “creative canvas” that can be freely used. If you already have a few pairs of classic models, now is the time to try to create a pair of unique shoes that are truly yours. This DIY graffiti guide will take the first step for you to start personalized transformation.
1. Preparation: Choose the right shoes and tools to get twice the result with half the effort
Recommended modified shoe type:
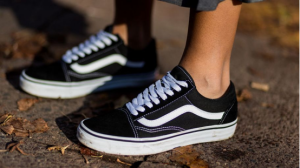
Old Skool : Iconic side stripes echo the line pattern
Authentic : Overall solid color design, easy to evenly color and pattern spreading
Slip-On : The upper is simple and flat, very suitable for graffiti creation or large-area color matching
Essential tools list:
Acrylic paint : saturated color, good waterproofness after drying, suitable for painting on shoe uppers
Fine-tip paintbrush/oil-based marker : for outlining or detailed coloring
Film remover : helps remove the protective layer on the upper and enhances the adhesion of the paint
Transparent protective spray : for final color setting and improved durability
2. Inspiration: From classic style to individual expression
If you haven’t decided on a pattern yet, here are some ideas to start with:
Street style : spray-painted lines, signature fonts, color block stitching
Cartoon illustrations : simple smiley faces, Q-version characters, retro comic graphics
Natural totems : floral lines, starry sky gradients, camouflage textures
Text slogan : custom slogan, lyrics fragment, personal signature
Tip: Sketching on paper first and then lightly tracing on the shoe surface with a pencil can effectively reduce errors and repeated modifications.
3. Detailed explanation of graffiti steps: from preparation to finished product, every step is important
Clean the upper : Use alcohol cotton pad to wipe and remove surface dust and oil stains
Treat the upper : Apply a small amount of film remover and let it sit for a few minutes to help the pigment absorb better
Primer : Use a sponge to pat large blocks of color to avoid leaving traces of brushstrokes
Detail drawing : Use fine brush tool to draw strokes and patterns, and apply in layers for a more three-dimensional effect
Color fixing and protection : After the pigment is completely dry, spray it with a transparent protective agent to enhance the waterproof and wear-resistant effect.
4. Advanced gameplay: create more creative combinations
Distressed effect : Use fine sandpaper to polish the edge or toe of the shoe to create a vintage feel
Collage technique : fabric, adhesive tape, stickers and other auxiliary materials can be used for partial splicing
Lace transformation : Replace colored laces or try hand-beading to add a touch of detail to the whole look
5. Notes: Don’t forget these tips before creating
For the first attempt, it is recommended to start practicing on the heel, tongue and other local areas.
Avoid using gouache and watercolor paints, which are easy to fade and not wear-resistant.
Try to avoid rainy days when wearing DIY shoes to extend the life of the graffiti pattern.
A pair of Vans that you have personally remade not only represents your re-creation of the shoes, but also reflects your unique aesthetics and style. Graffiti patterns don’t have to be complicated. A favorite sentence or a set of symbols that symbolize your personality is enough to make it look brand new. Why not take out that worn-out pair of Vans and start from scratch, making it an extension and expression of your style?